- move publish report section from sharding doc to github actions doc in
getting started guide
8.5 KiB
| id | title |
|---|---|
| ci-intro | CI GitHub Actions |
When installing Playwright you are given the option to add a GitHub Actions. This creates a playwright.yml file inside a .github/workflows folder containing everything you need so that your tests run on each push and pull request into the main/master branch.
What you will learn:
GitHub Actions
Tests will run on push or pull request on branches main/master. The workflow will install all dependencies, install Playwright and then run the tests. It will also create the HTML report.
name: Playwright Tests
on:
  push:
    branches: [main, master]
  pull_request:
    branches: [main, master]
jobs:
  test:
    timeout-minutes: 60
    runs-on: ubuntu-latest
    steps:
      - uses: actions/checkout@v3
      - uses: actions/setup-node@v3
        with:
          node-version: 18
      - name: Install dependencies
        run: npm ci
      - name: Install Playwright Browsers
        run: npx playwright install --with-deps
      - name: Run Playwright tests
        run: npx playwright test
      - uses: actions/upload-artifact@v3
        if: always()
        with:
          name: playwright-report
          path: playwright-report/
          retention-days: 30
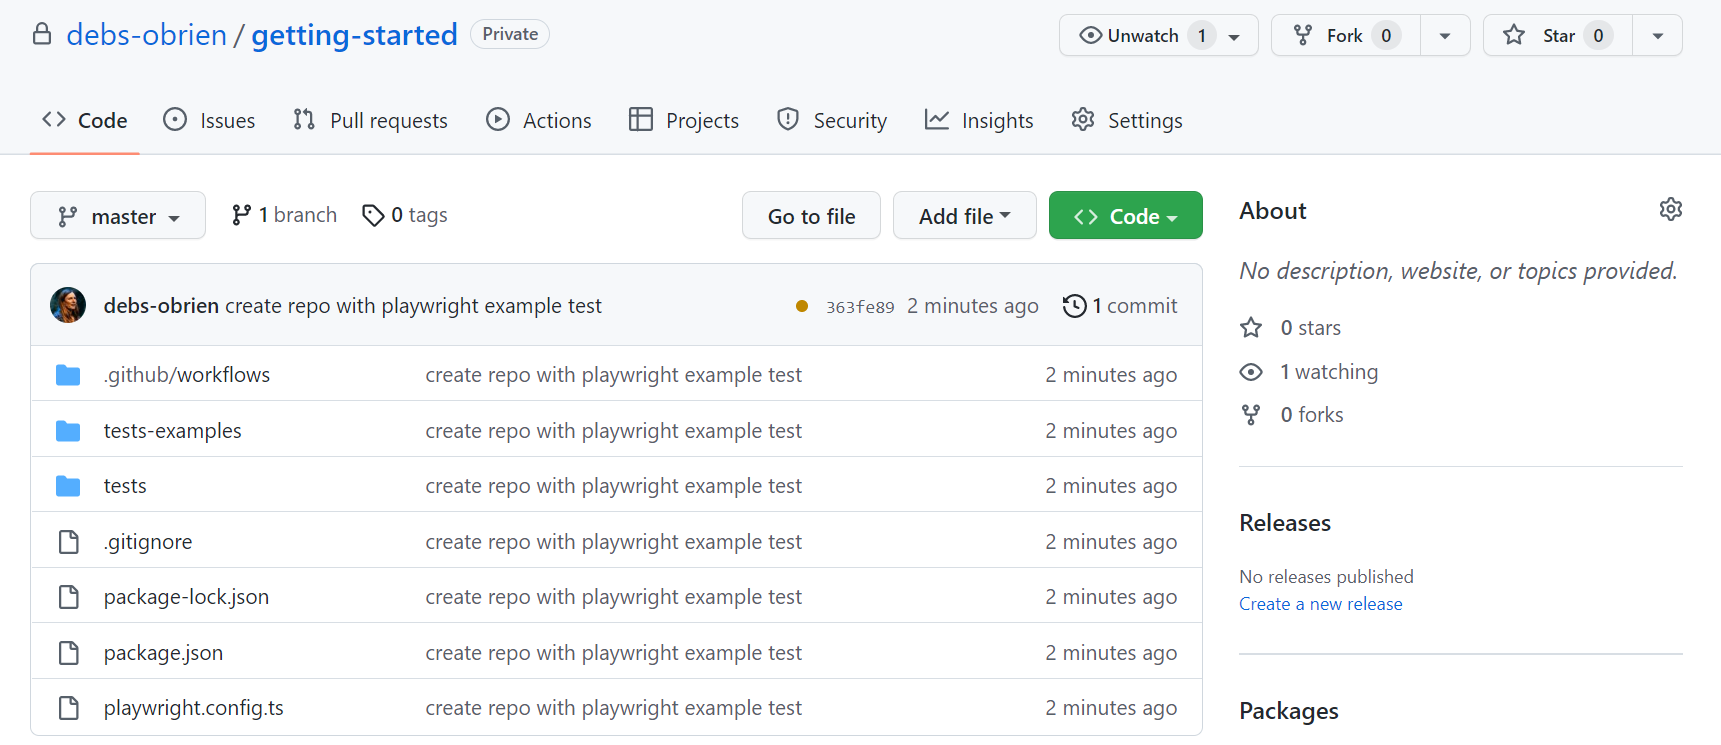
Create a Repo and Push to GitHub
Create a repo on GitHub and create a new repository or push an existing repository. Follow the instructions on GitHub and don't forget to initialize a git repository using the git init command so you can add, commit and push your code.
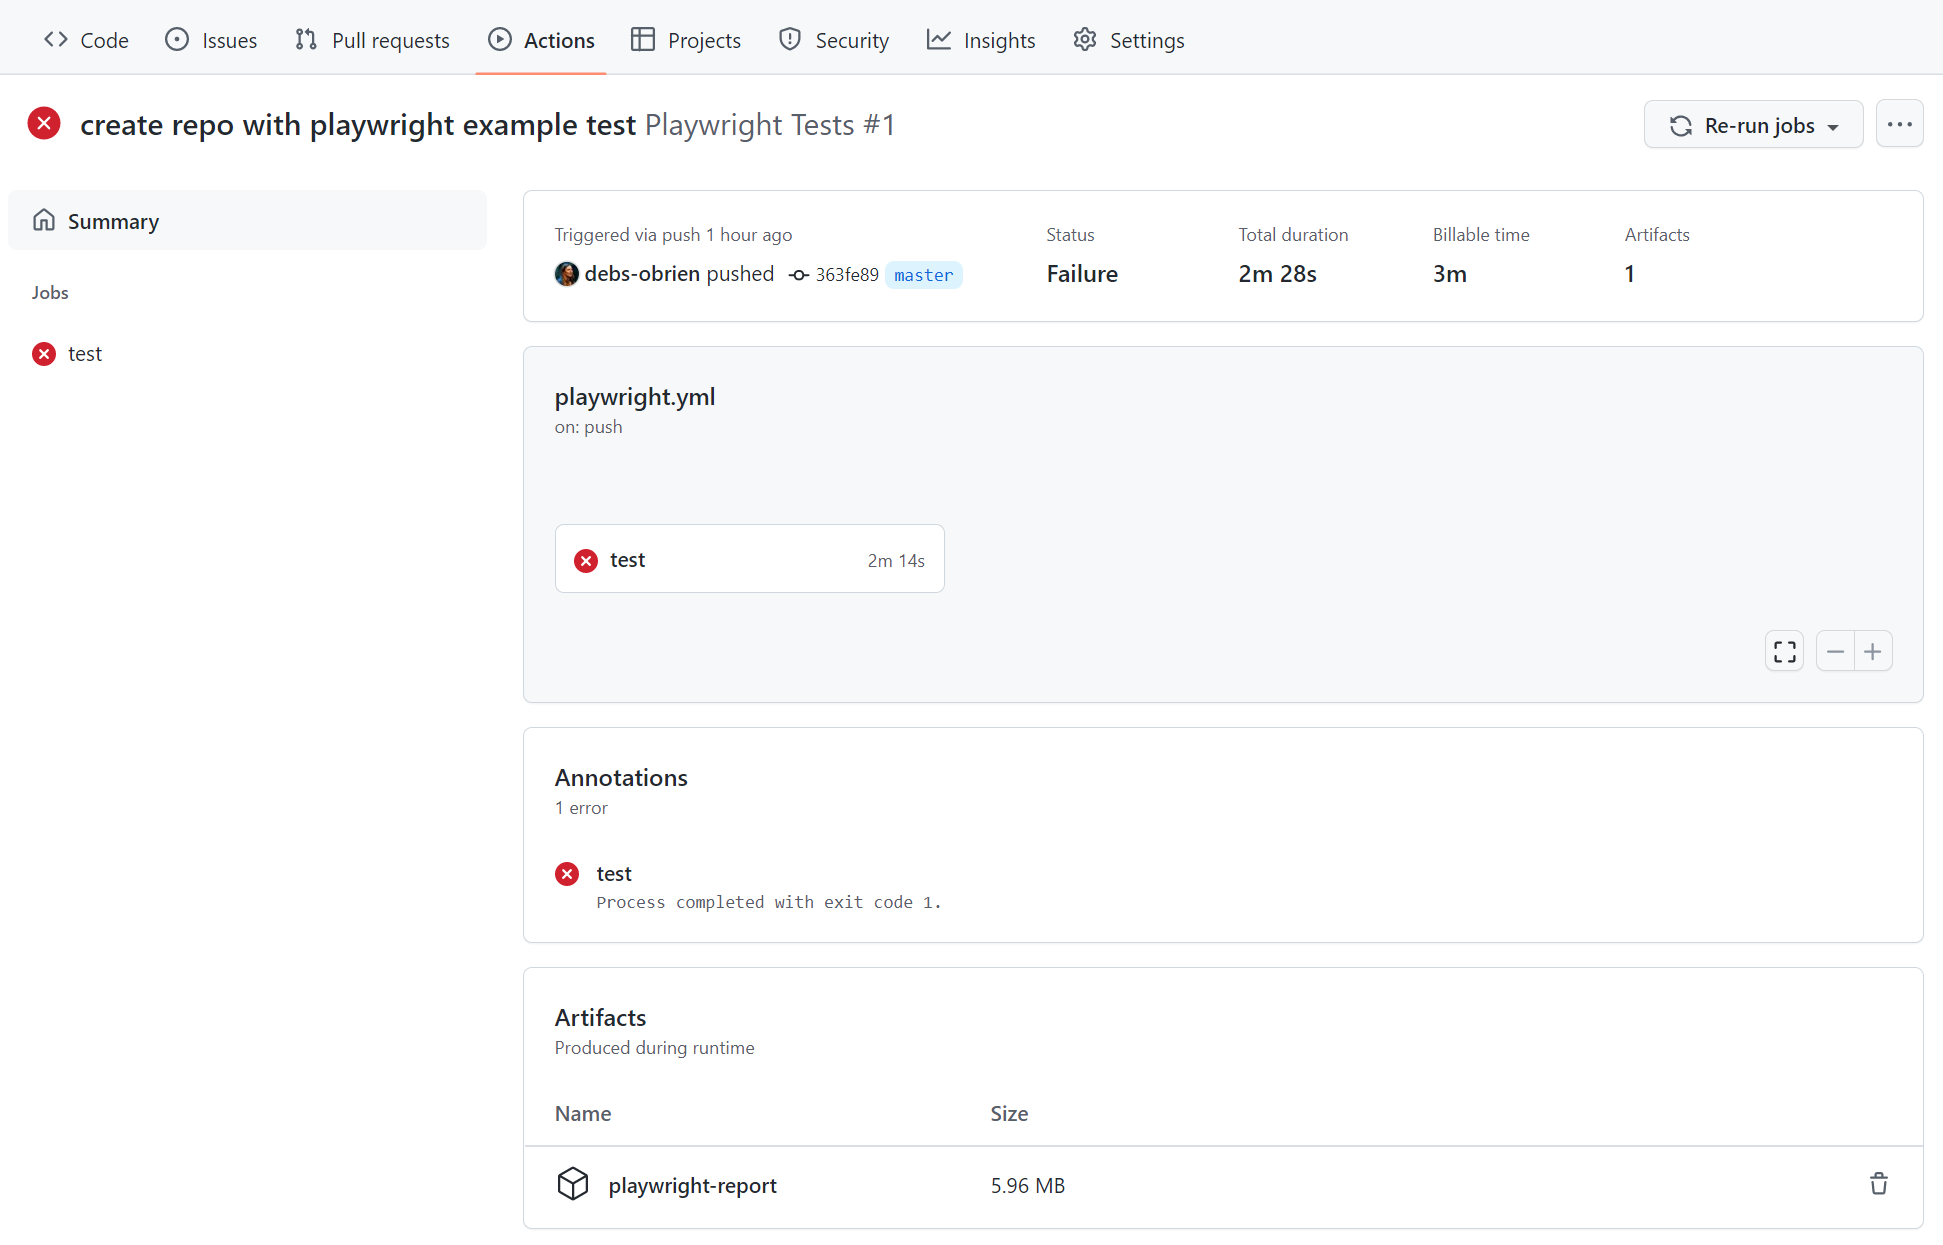
Opening the Workflows
Click on the Actions tab to see the workflows. Here you will see if your tests have passed or failed.

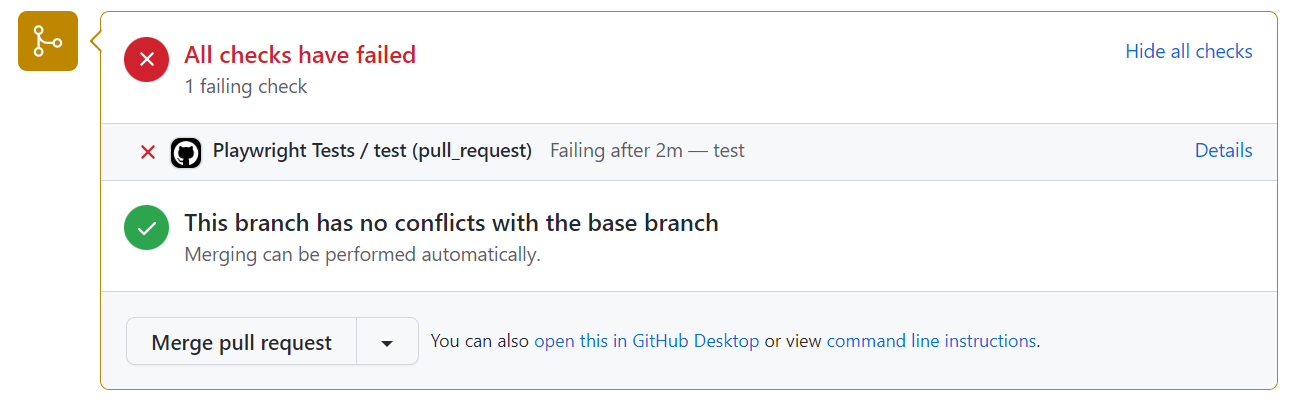
On Pull Requests you can also click on the Details link in the PR status check.
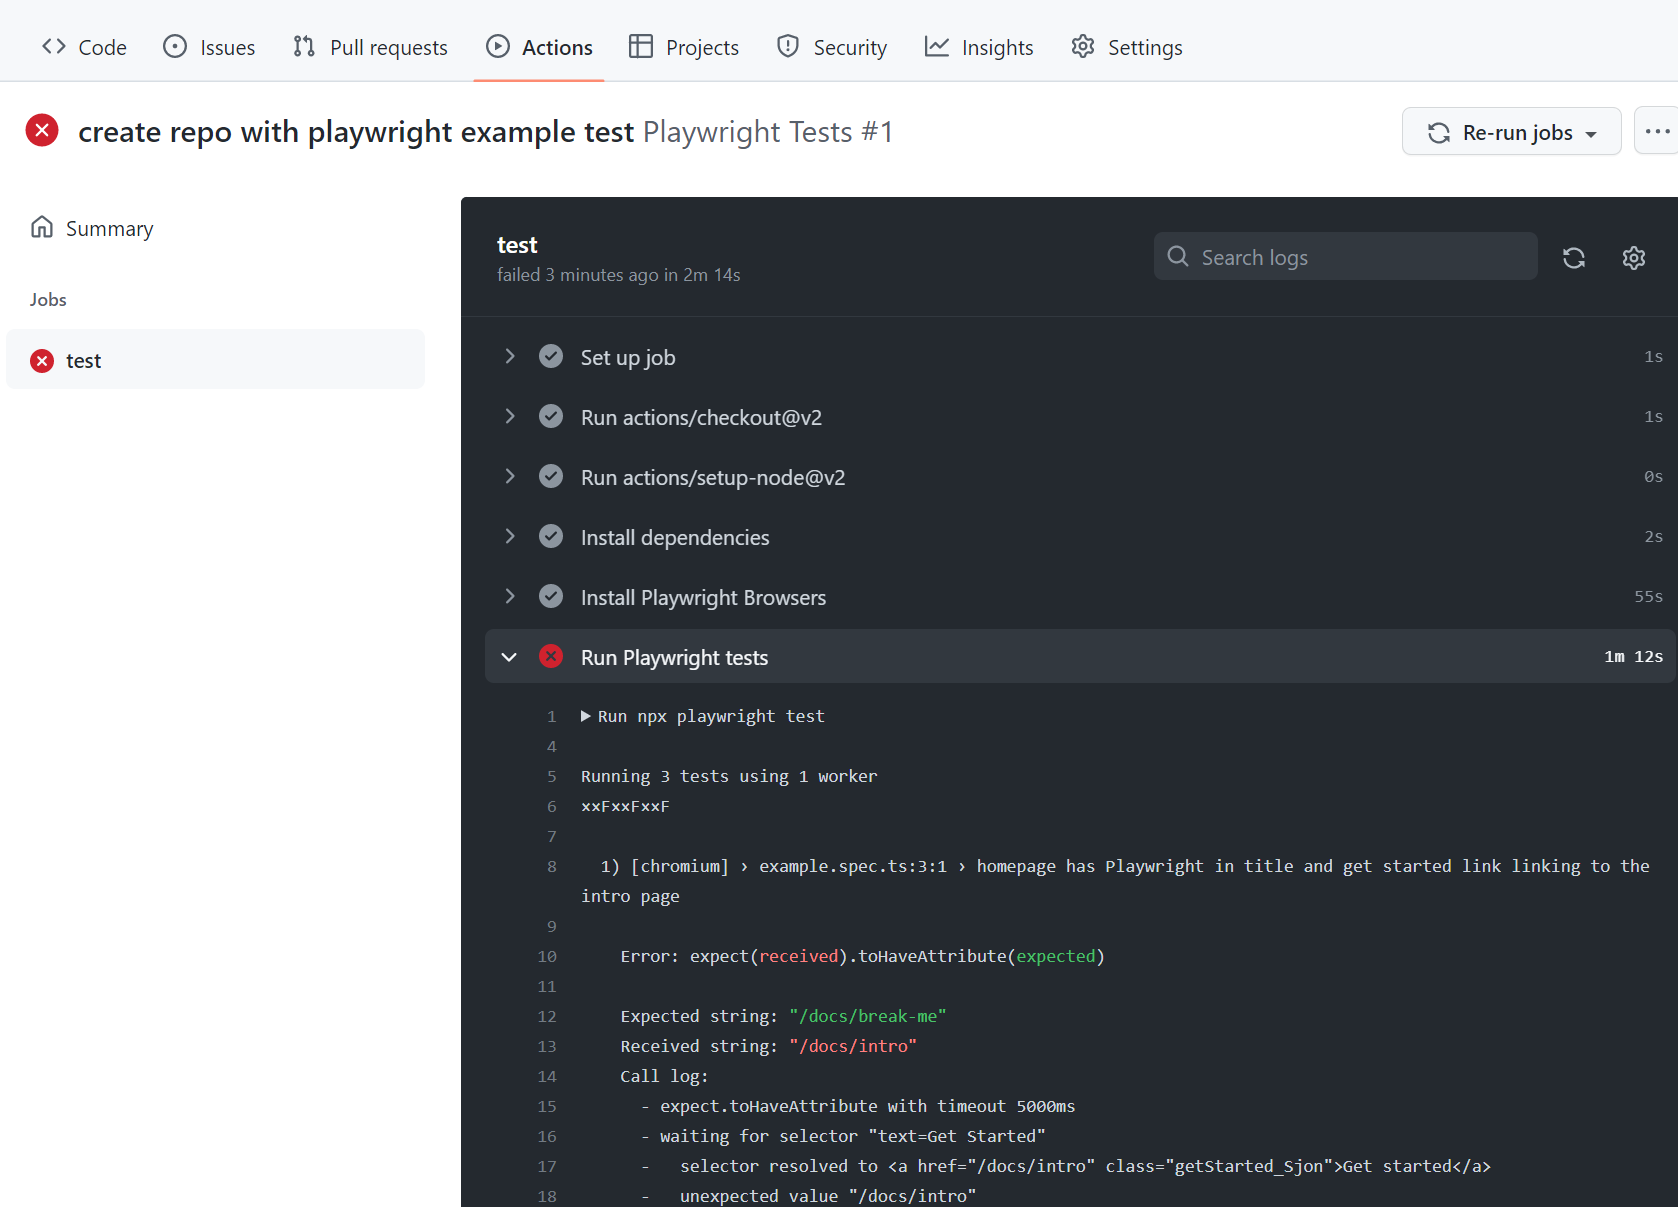
Viewing Test Logs
Clicking on the workflow run will show you the all the actions that GitHub performed and clicking on Run Playwright tests will show the error messages, what was expected and what was received as well as the call log.
HTML Report
The HTML Report shows you a full report of your tests. You can filter the report by browsers, passed tests, failed tests, skipped tests and flaky tests.
Downloading the HTML Report
In the Artifacts section click on the playwright-report to download your report in the format of a zip file.
Viewing the HTML Report
Locally opening the report will not work as expected as you need a web server in order for everything to work correctly. First, extract the zip, preferably in a folder that already has Playwright installed. Using the command line change into the directory where the report is and use npx playwright show-report followed by the name of the extracted folder. This will serve up the report and enable you to view it in your browser.
npx playwright show-report name-of-my-extracted-playwright-report

To learn more about reports check out our detailed guide on HTML Reporter
Viewing the Trace
Once you have served the report using npx playwright show-report, click on the trace icon next to the test's file name as seen in the image above. You can then view the trace of your tests and inspect each action to try to find out why the tests are failing.

Publishing report on the web
Downloading the HTML report as a zip file is not very convenient. However, we can utilize Azure Storage's static websites hosting capabilities to easily and efficiently serve HTML reports on the Internet, requiring minimal configuration.
-
Create an Azure Storage account.
-
Enable Static website hosting for the storage account.
-
Create a Service Principal in Azure and grant it access to Azure Blob storage. Upon successful execution, the command will display the credentials which will be used in the next step.
az ad sp create-for-rbac --name "github-actions" --role "Storage Blob Data Contributor" --scopes /subscriptions/<SUBSCRIPTION_ID>/resourceGroups/<RESOURCE_GROUP_NAME>/providers/Microsoft.Storage/storageAccounts/<STORAGE_ACCOUNT_NAME> -
Use the credentials from the previous step to set up encrypted secrets in your GitHub repository. Go to your repository's settings, under GitHub Actions secrets, and add the following secrets:
AZCOPY_SPA_APPLICATION_IDAZCOPY_SPA_CLIENT_SECRETAZCOPY_TENANT_ID
For a detailed guide on how to authorize a service principal using a client secret, refer to this Microsoft documentation.
-
Add a step that uploads HTML report to Azure Storage.
...
    - name: Upload HTML report to Azure
      shell: bash
      run: |
        REPORT_DIR='run-${{ github.run_id }}-${{ github.run_attempt }}'
        azcopy cp --recursive "./playwright-report/*" "https://<STORAGE_ACCOUNT_NAME>.blob.core.windows.net/\$web/$REPORT_DIR"
        echo "::notice title=HTML report url::https://<STORAGE_ACCOUNT_NAME>.z1.web.core.windows.net/$REPORT_DIR/index.html"
      env:
        AZCOPY_AUTO_LOGIN_TYPE: SPN
        AZCOPY_SPA_APPLICATION_ID: '${{ secrets.AZCOPY_SPA_APPLICATION_ID }}'
        AZCOPY_SPA_CLIENT_SECRET: '${{ secrets.AZCOPY_SPA_CLIENT_SECRET }}'
        AZCOPY_TENANT_ID: '${{ secrets.AZCOPY_TENANT_ID }}'
The contents of $web storage container can be accessed from a browser by using the public URL of the website.
:::note This step will not work for pull requests created from a forked repository because such workflow doesn't have access to the secrets. :::
To learn more about traces check out our detailed guide on Trace Viewer.
To learn more about running tests on CI check out our detailed guide on Continuous Integration.